If you spend 8 or more hours a day staring at your Mac, you're not alone. According to the American Academy of Ophthalmology, the average adult now spends over 7 hours a day looking at screens. And the consequence? Digital eye strain — also known as Computer Vision Syndrome (CVS) — affects an estimated 50% to 90% of computer workers.
The good news: you don't have to accept headaches, dry eyes, and blurred vision as the cost of productivity. This guide covers everything you can do on your Mac to reduce eye strain, from built-in macOS settings to specialized software that goes far beyond what Apple provides out of the box.
What Causes Digital Eye Strain?
Before diving into solutions, it helps to understand what's actually causing the problem. Digital eye strain isn't caused by a single factor — it's a combination of several:
- Excessive brightness: When your screen is significantly brighter than your surroundings, your pupils constantly adjust, fatiguing the muscles in your iris.
- Blue light exposure: High-energy visible (HEV) blue light in the 415-455nm wavelength range can contribute to retinal stress, especially during evening hours when it also disrupts melatonin production.
- Reduced blink rate: Studies show we blink 66% less when focusing on screens, leading to dry, irritated eyes.
- Glare and reflections: Bright areas on screen create localized glare that forces your eyes to work harder to process content.
- Poor contrast: Reading light text on bright backgrounds (or vice versa) for extended periods fatigues the ciliary muscle.
Step 1: Optimize Your Mac's Built-In Display Settings
macOS has several built-in tools for display comfort. Start here before exploring third-party options.
Enable True Tone (If Available)
True Tone uses ambient light sensors to adjust your display's color temperature based on your environment. It's subtle but effective. Go to System Settings > Displays and toggle True Tone on. This is available on MacBook Pro (2018+), MacBook Air (2018+), and Apple displays.
Use Night Shift
Night Shift is Apple's built-in blue light filter. It shifts your screen toward warmer colors after sunset. Set it up in System Settings > Displays > Night Shift. You can schedule it from sunset to sunrise or set custom hours.
Night Shift only adjusts color temperature — it doesn't address brightness at all. A white web page at 2700K is still blindingly bright in a dark room. This is where dedicated dimming software becomes essential.
Adjust Display Brightness
The general rule: your screen brightness should match the brightness of your surroundings. In a dim room, turn it down significantly. Enable Automatically adjust brightness in System Settings > Displays for a baseline, but know that macOS's auto-brightness tends to keep screens brighter than ideal for eye comfort.
Step 2: Follow the 20-20-20 Rule
The 20-20-20 rule is the single most recommended strategy by eye care professionals: every 20 minutes, look at something 20 feet away for at least 20 seconds. This relaxes the ciliary muscle, which contracts when focusing on nearby objects.
Pair this with conscious blinking — try to blink fully every 3-4 seconds during your breaks. Some people find it helpful to set a timer or use apps like Time Out to remind them.
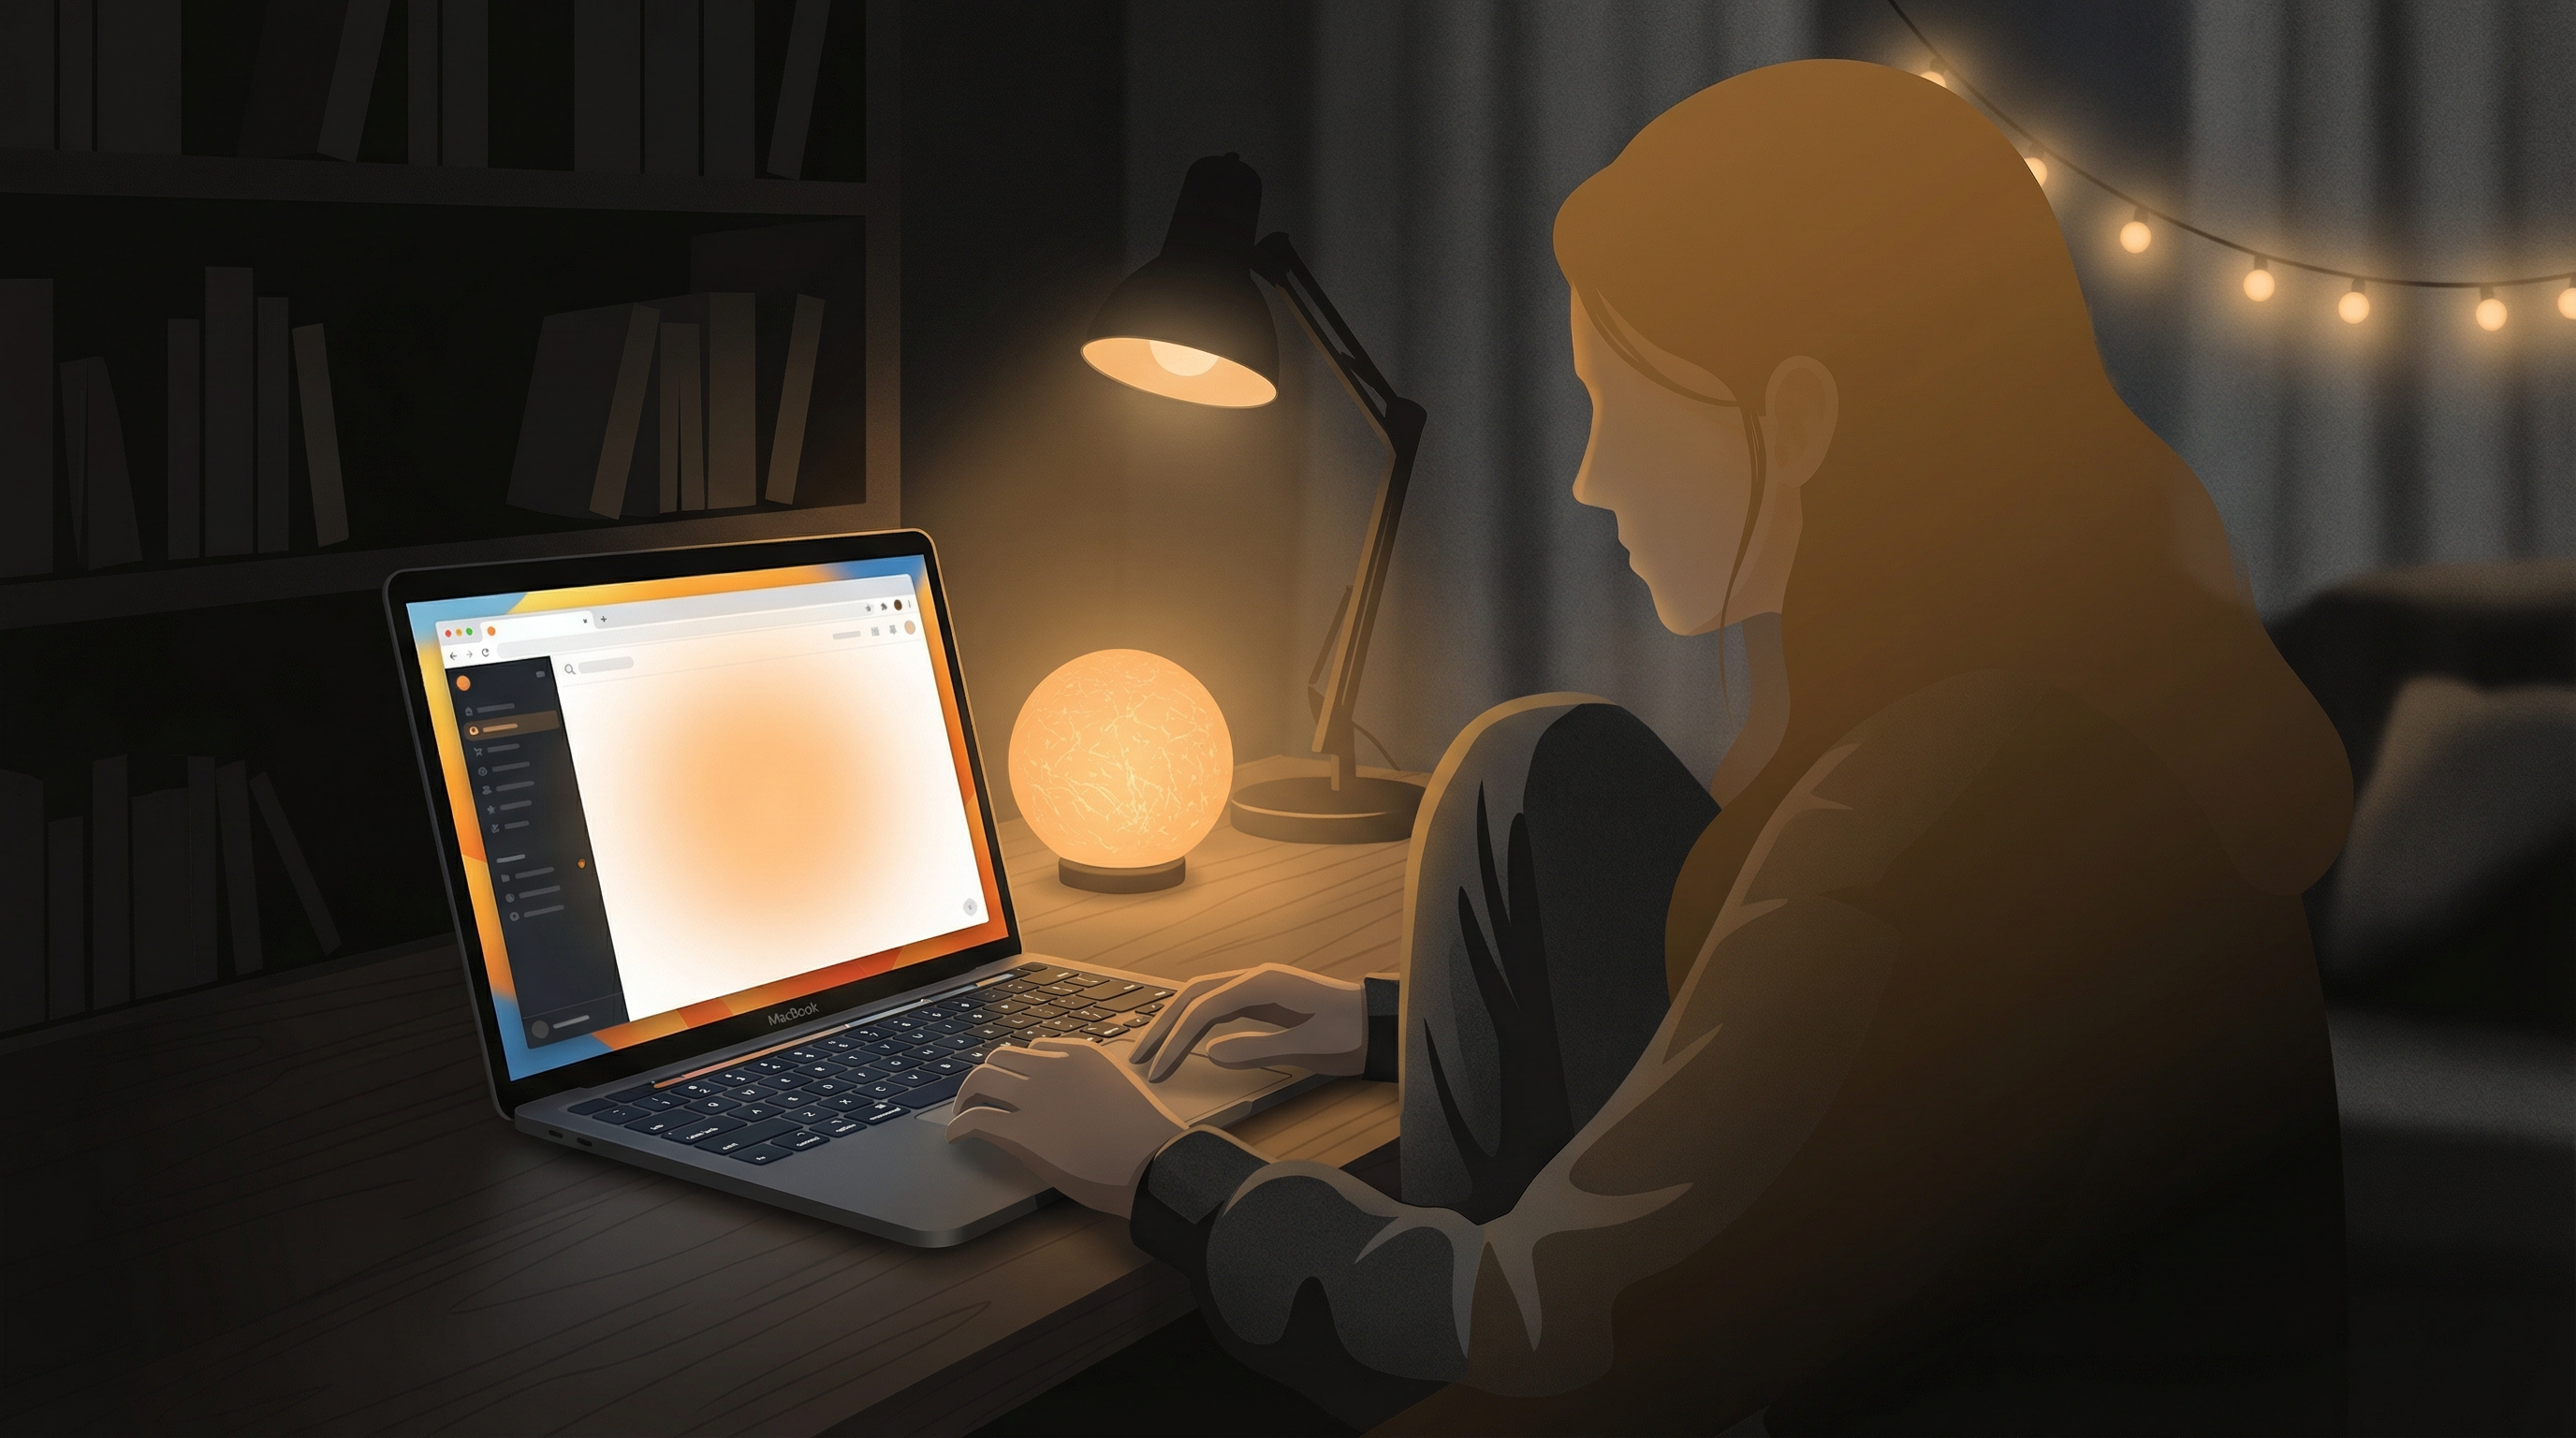
Step 3: Enable Dark Mode (But Know Its Limits)
macOS Dark Mode reduces the overall brightness of system UI, Finder, and supported apps. Turn it on in System Settings > Appearance. It's genuinely helpful — but it has a significant blind spot.
The problem: not everything respects dark mode. Email bodies are still white. Many web pages are white. PDFs are white. Browser-based tools like Google Docs, Notion, and Figma render on white backgrounds. Even in "dark mode," your screen is often dominated by bright rectangular regions that strain your eyes.
This is exactly the problem that intelligent screen dimming was designed to solve.
Step 4: Use Intelligent Screen Dimming Software
Traditional screen dimming applies a uniform filter over your entire display — like putting on sunglasses. It works, but it dims everything equally, including dark UI elements that were already comfortable.
SuperDimmer takes a fundamentally different approach. It scans your screen in real-time, identifies which regions are bright, and dims only those areas. Dark sidebars, dark mode interfaces, and dark backgrounds remain untouched.
How Per-Region Dimming Works
SuperDimmer divides your screen into a configurable grid (from 4x4 to 16x16 cells). Each cell is analyzed for brightness using the Rec. 709 luminance formula. Cells above your configured threshold get a transparent dimming overlay. Cells below the threshold are left alone.
The result: that bright email inside dark-mode Mail gets dimmed. The white Google Doc in your browser gets dimmed. But your terminal, your code editor sidebar, and your dark-themed Slack stay exactly as they are.
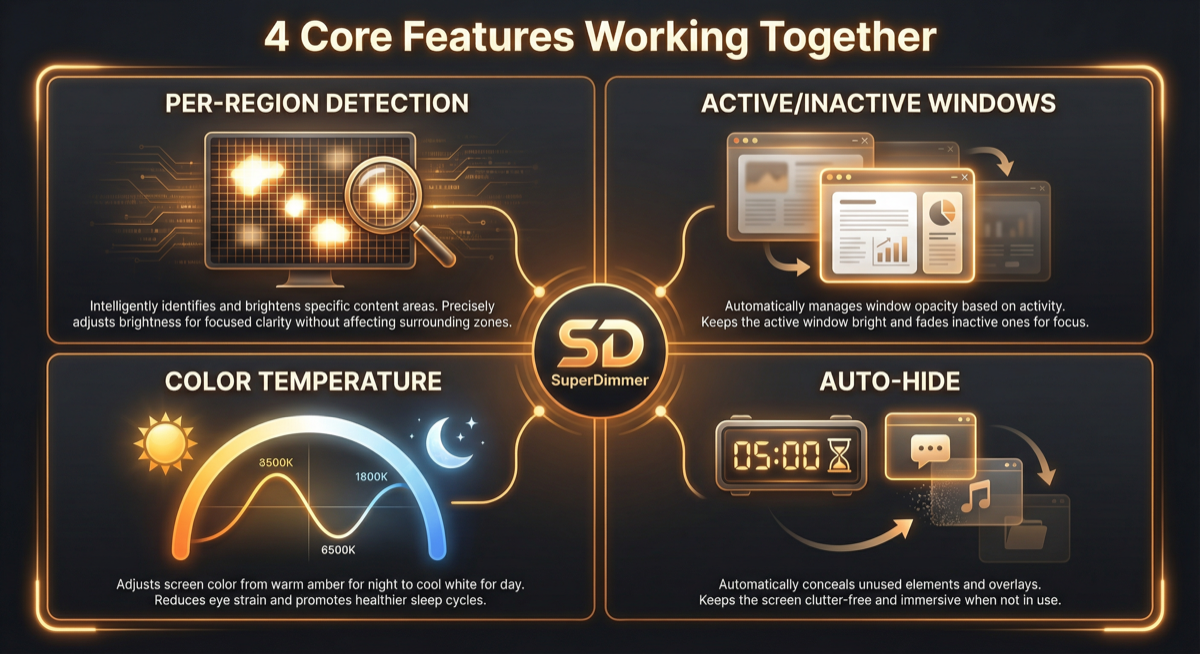
SuperDimmer detects and dims only the bright regions, leaving dark areas untouched.
Active vs. Inactive Window Dimming
Another powerful feature: SuperDimmer can apply different dim levels to your active (focused) window versus background windows. Your current window stays bright and readable with light dimming (say 15%), while background windows fade further (say 35%). This reduces total screen brightness without impacting your active work.
Step 5: Control Color Temperature Beyond Night Shift
Night Shift offers a simple warm/cool slider. Dedicated color temperature tools give you precise control in Kelvin. SuperDimmer includes built-in color temperature control ranging from 6500K (daylight) down to 1900K (candlelight), with presets for common scenarios:
- Daylight (6500K): Standard display — no filtering
- Sunset (4100K): Mild warming for late afternoon
- Night (2700K): Significant blue reduction for evening
- Bedtime (1900K): Maximum warmth for late-night sessions
You can also set automatic scheduling based on your location's sunrise and sunset times, so the transition happens naturally throughout the day.
Step 6: Optimize Your Physical Setup
Software can only do so much. Your physical environment matters enormously:
- Monitor distance: Position your display about 25 inches (arm's length) from your eyes, with the top of the screen at or slightly below eye level.
- Ambient lighting: Avoid working in complete darkness. Use a bias light behind your monitor or a warm desk lamp to reduce the contrast between screen and surroundings.
- Anti-glare: If your MacBook or display has a glossy screen, consider a matte screen protector or repositioning to avoid window reflections.
- Room humidity: Dry air worsens eye symptoms. A small humidifier near your desk helps, especially in winter.
Step 7: Reduce Visual Clutter
A cluttered desktop with 15 overlapping windows forces your eyes to constantly refocus and scan for context. This contributes to fatigue. Strategies to reduce visual load:
- Auto-hide inactive apps: SuperDimmer's auto-hide feature automatically hides apps you haven't used in a configurable time period (default 30 minutes). It's like having a tidy assistant closing your unused windows.
- Progressive dimming: Windows you haven't used recently progressively dim, creating a natural visual hierarchy. Your active window stands out, while old windows fade into the background.
- Use macOS Spaces: Spread your work across multiple desktops instead of layering everything on one screen. Tools like SuperDimmer's Super Spaces HUD make switching between Spaces effortless with Cmd+1 through Cmd+9.
Putting It All Together
The most effective approach to reducing eye strain combines multiple strategies:
- Enable Dark Mode as your baseline
- Use intelligent dimming (like SuperDimmer) to catch what Dark Mode misses
- Set up color temperature scheduling to reduce blue light automatically
- Follow the 20-20-20 rule for regular eye breaks
- Optimize your physical setup — distance, lighting, and humidity
- Reduce visual clutter with auto-hide and workspace management
No single tool solves everything, but the combination can transform your daily experience from eye-strain headaches to comfortable, productive work sessions.
Try SuperDimmer Free
Intelligent screen dimming, color temperature control, auto-hide, and more. All features free during early access.
Download Free for macOS